Wednesday, 8 August 2012

Boot Windows 8 into Safe Mode


We all have gotten accustomed to pressing either F2 or F8 to get the advanced boot options since Windows 2000, probably even before that. In every version of Windows, you always could count on the slower boot process to actually press the key when the text message appeared.
press f8 for boot
Well, those days are gone! In Windows 8, the boot time has been dramatically decreased and the screenshot you see above appears for about 200 milliseconds and that’s it! So if you want to get into Safe Mode in Windows 8, you have to go a different route. Instead of the Advanced Boot Options of earlier versions of Windows, you now first have to go through the System Recovery Options of Windows 8. It’s pretty much the same thing, but just looks a lot nicer and you have to click a few more menu options to get there. Here’s how.

Startup Windows 8 in Safe Mode

To get started, you first need to boot Windows 8 into the System Recovery Options. You can read my previous post on how to do that; there are basically three methods. Once you are there, you need to click on the Troubleshoot option.
troubleshoot windows 8
On the next screen, you need to click on Advanced Options.
advanced options
Then you need to click on Startup Settings on the last dialog.
startup settings
Finally, you have to click on the Restart button, which will give you options to start up in low-resolution mode, debugging mode, enable boot logging, and start in safe mode! Kind of a long process, but that’s the new way.
safe mode
Now you will finally get to the Startup Settings screen, where you can press 1 thru 10 or F1 thru F10 to pick your different settings. Press 4 or F4 to enable Safe Mode.
enable safe mode
That’s it! Windows 8 will now load in Safe Mode! You’ll have to type in your password to log in once it starts back up. I noticed that while in Safe Mode in Windows 8, I could not bring up the Charms bar. Not sure why, but I could not figure out how to restart the system. What I ended up doing was going to the Start Screen, then clicking on my name at the top and there was an option to signed out. Once I signed, there was an option to Shutdown or Restart when I clicked on the Power button at the bottom right. So if you’re stuck in Safe Mode and can’t get out, that’s how do to it.
Also, it should be noted that you can use the MSCONFIG utility to startup in safe mode also. Go to the Start Screen, right-click, then choose All apps and then click on Run.
run command
Next, type in msconfig in the run dialog and then click on the Boot tab:
boot tab
Check the box that says Safe boot and then choose an option. You can pick from:
Minimal – Normal Safe Mode
Alternate shell - Safe Mode with command prompt
Network – Safe Mode with networking
Don’t worry about Active Directory repair, that’s some IT-related option. You can also check the boxes for No GUI boot, Boot log, Base video and OS boot information. Note that when you boot into safe mode using msconfig, it will continuously boot until you go back into msconfig and uncheck the Safe boot option. Enjoy!


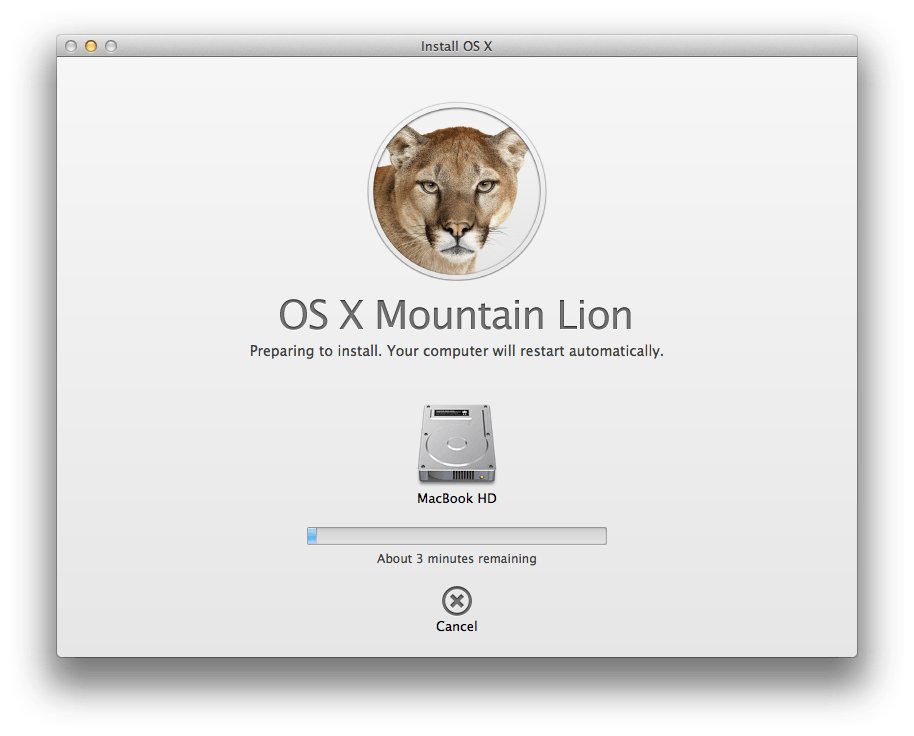
Mac OS X 10.8 Mountain Lion Upgrade and Clean Install Guide


Upgrading to Mac OS X 10.8 Mountain Lion is for the most part a simple process. However, there are a few unobvious steps along the way that you may want to consider, whether upgrading or installing to the latest 10.8 version of Mac OS.
Mountain Lion
I recently upgraded my MacBook Pro to OS X 10.8 and have documented the process for any of our site visitors or subscribers who may be upgrading to Mountain Lion in the future.

Before you upgrade or install

  • You must be running either Mac OS X 10.6 Snow Leopard or 10.7 Lion to directly upgrade to Mountain Lion.
  • If you’re not currently running 10.6 or 10.7, you may clean install lion if your Mac computer will support it. For compatible Macs, see our article on Mountain Lion requirements.
  • Make sure your computer is connected to power, if using a MacBook, Pro or Air.
  • Perform a software update prior to installing Lion to assure that you have the latest software. Click the Apple logo in the upper left corner of the screen and select Software Update… from the context menu.

1. Purchase and download Mac OS X 10.8 Mountain Lion.

Launch the Mac AppStore on your computer by clicking the Apple logo and selecting App Store… from the context menu.
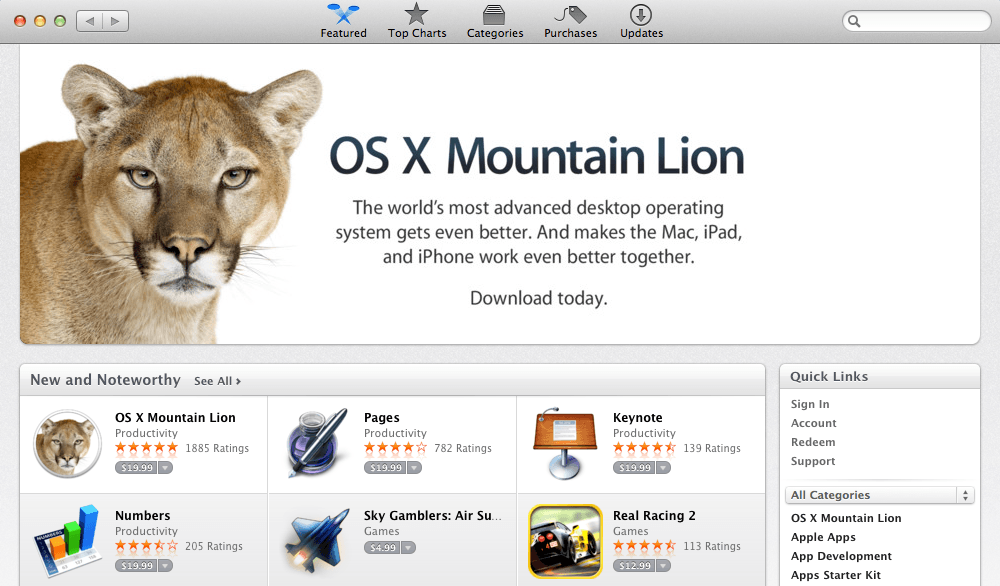
With the Mac AppStore open and active on screen, find the Mac OS X Mountain Lion app in the AppStore by performing a search, although it may be featured on the home screen.
ml_1
Click the price below the Mountain Lion App listing and it will change to Buy App. Click the Buy App button to purchase Mountain Lion.
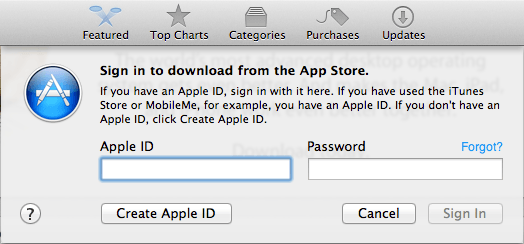
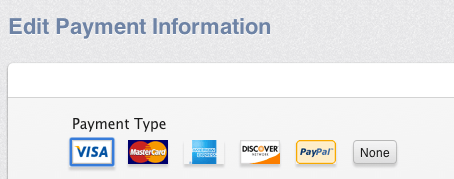
Next, Apple will prompt you to sign-in to your account, in which you may be required to verify your billing info. Proceed to sign in, verify your billing info, etc…
ml_2
ml_3
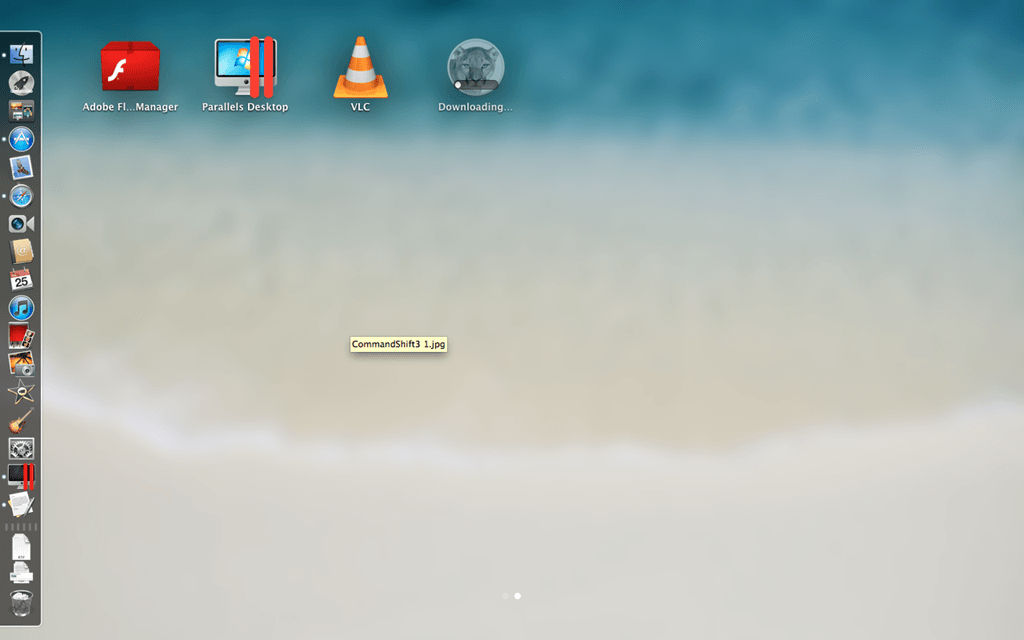
After that is complete and the purchase has been made, the operating system download will begin immediately. You can view the progress of the download at anytime by using the Launchpad app on your Mac.
ml_4
The download will very likely not be quick, as the Mountain Lion installer is a 4.37GB file. I downloaded Mountain Lion the same day it was released, so Apple download servers were extremely busy and the download took a very long time. I started the download at 4:28 and it finished at 6:48, so it took 2 hours and 20 minutes to download, using a high-speed cable internet connection.
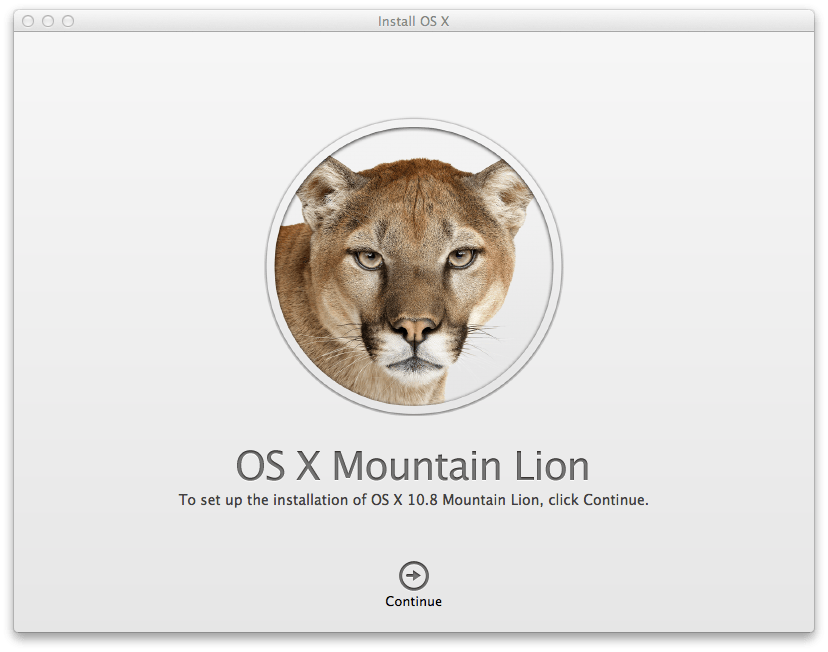
After the download completes, the Mac OS X Installer will automatically launch and prompt you to begin installing Mountain Lion.
ml_5
However, don’t install the software yet. Let’s get the $20.00 USD software purchase that you just made backed up before we proceed with the installation (the installer deletes itself upon upgrade).

2. Backup, Create a bootable USB drive or Disc of Mountain Lion

With 10.8 successfully downloaded, navigate to the path Finder > Applications and locate the Mountain Lion installer. Right-click the installer app and select show package contents from the context menu.
From here, Finder will open the actual directory of the app. Navigate the path Contents > SharedSupport and locate the file InstallESD.dmg
Next, open up disk utility in a new window, using Launchpad or by navigating the path Finder > Applications > Utilities > Disk Utility. Drag the InstallESD.dmg file into the left-side drives list within Disk Utility. You can now begin backing up Lion using a DVD or USB drive.
2a. To Burn a Backup/Recovery Disc –
Select the DMG file within Disk Utility by single clicking it. Click the Burn button to begin creating your Mountain Lion install DVD (dual-layer DVD or Blu-ray disc required). Once the burn has finished, eject the disc from your Mac and store it in a safe place. This disc can be used to reinstall Mountain Lion, should you need to in the future.
OR
2b. To create a bootable USB Drive –
  • Insert the USB drive and select it in the sidebar in Disk Utility. Select the Partition tab, select 1 Partition from the dropdown menu and choose Mac OS Extended (Journaled) as the format type.
  • Click the Options button and choose GUID Partition Table, this will make the drive bootable and formatted correctly for the Mac. Click Apply to format, which will completely erase the drive.
  • Next, click the Restore tab and choose the DMG file as your source and the USB drive as the destination. Click the Apply button to backup the installer to bootable USB drive.
OR SAVE THE INSTALLER
2c. To save the installer file and make it bootable at another time (quickest) -
Connect an external hard drive or high capacity USB drive to your Mac. Navigate the path Finder > Applications and locate the Mountain Lion installer app. It will be an app represented by a picture of a Mountain Lion. Drag the entire app to your external hard drive or USB drive to copy it. Eject the drive.
At this point, you have successfully downloaded Mountain Lion and backed up the installer file.

3. Upgrade or Clean Install Mac OS X 10.8 Mountain Lion

Finally, it’s time to actually begin install of the new operating system!
3a. Upgrade Install from Snow Leopard or Lion -
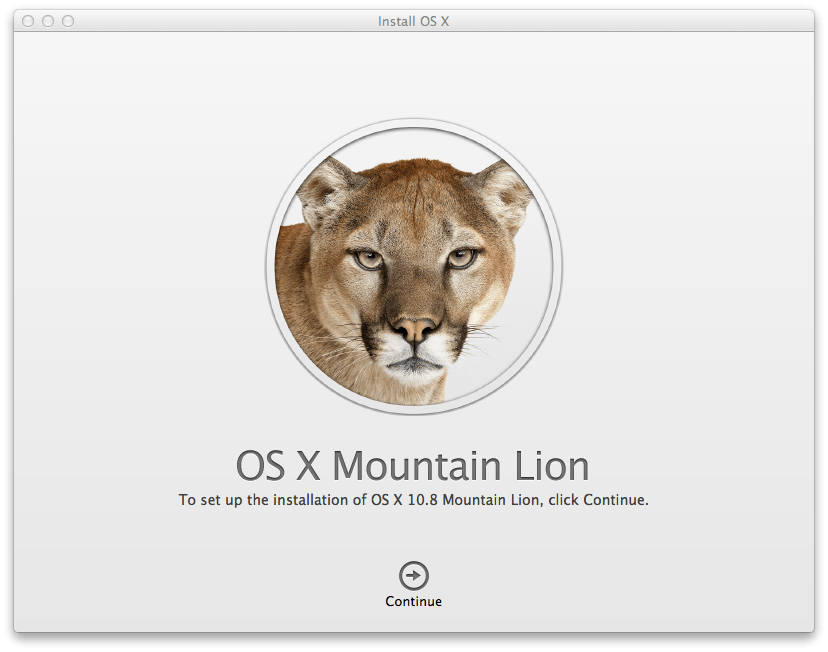
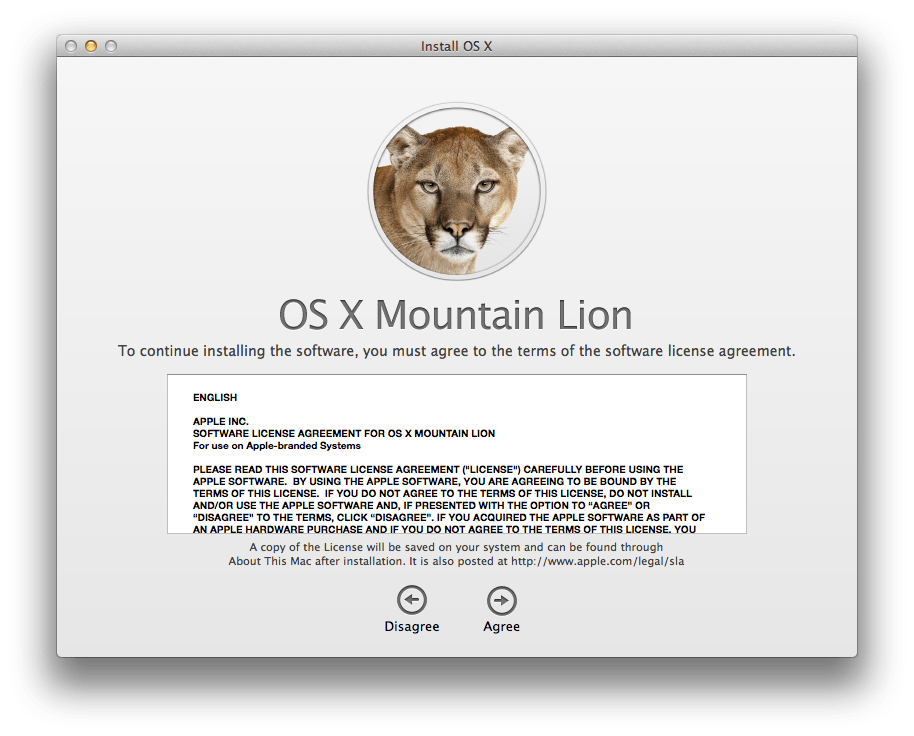
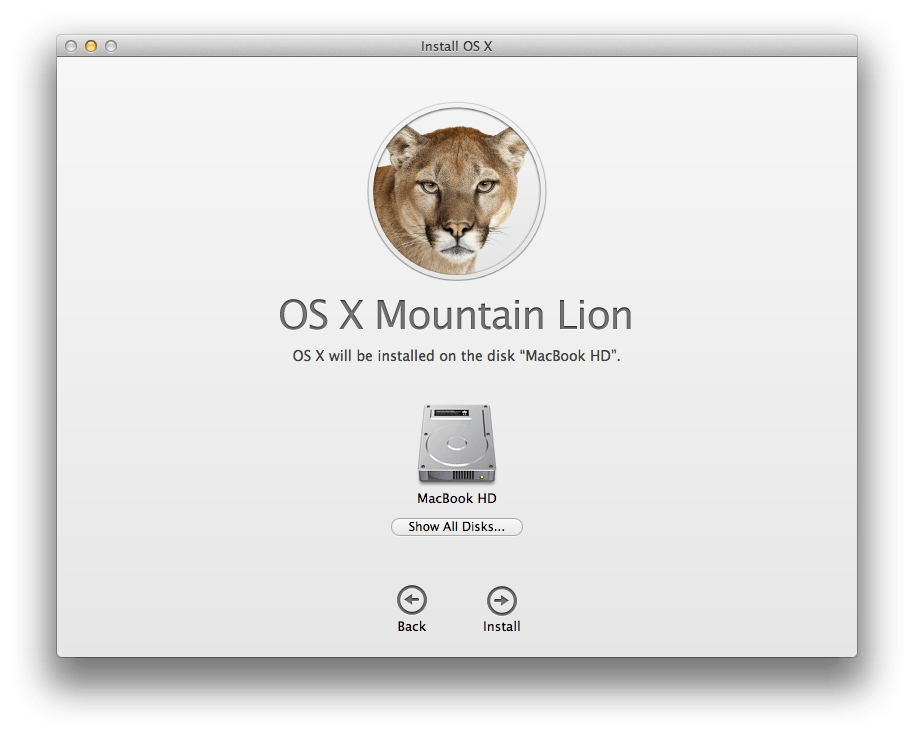
Launch the Mountain Lion app that you downloaded from the AppStore by navigating the path Finder > Applications. Once the app launches, you will be prompted with the upgrade steps:
ml_5
ml_8
ml_7
ml_6
Follow the on-screen prompts to upgrade to Mountain Lion. Your computer will reboot and the upgrade process will begin.
The estimated upgrade install time for Mountain Lion is 34 minutes, although it may go quicker or slower depending on your hard drive speed. For example, I have a SSD installed on my MacBook, so it took closer to 15 minutes.
Once the installation is complete, your computer will restart one more time and boot back up. Once you sign in, you will be using 10.8 Mountain Lion; because this method is an upgrade, all of your existing apps and documents will be on your Mac computer.
OR
3b. Clean Install Mountain Lion -
If you’re not currently running Snow Leopard or Lion as an operating system, but have a Mac that is capable of running Mountain Lion, you will want to perform a clean install. The process is as follows:
  • Close out of any apps or other open documents and save your work.
  • Connect a bootable USB drive or DVD Disc containing the Mountain Lion installer to your Mac computer. We described how to create both above (2a, 2b).
  • Restart your computer. Once it begins to boot back up, hold down the option key on the keyboard to choose a boot device.
  • Select either the USB drive or Disc as the boot source.
  • Click the Continue button on the first initial Welcome… screen.
  • (optional) Hover your mouse over the top of the screen and navigate the path Utilities > Disk Utility.
  • (optional) Use Disk Utility to erase any existing Mac OS X installations if you so choose. This will completely wipe your hard drive of all data! Format to OS X Extended (journaled) and exit Disk Utility.
  • Complete the on-screen prompts to finish clean installing Mountain Lion.
Quick tip: If you performed a clean install, your Mac computer will finish installing Mountain Lion and will restart with Mountain Lion ready for use. However, you will be missing all of your iLife apps such as iPhoto and iMovie. Insert the Applications disc that came with your Mac computer to regain these programs.
How to Open a Excel or Word in Safe Mode:

In our company we generate .dat files with inhouse application, I had fixed strange problem. I can open those .dat file in excel by browsing file –> open , but not when I double click ( after associating to open always open in excel ). below is solution
open folder option —>file types — dat and click advanced button ( some times you may have restore button, click restore and you will get advanced )
in advanced – select open — edit and paste the path of "x:….excel.exe" /e and click ok/apply
eg : "C:Program FilesMicrosoft OfficeOffice12EXCEL.EXE" /e
boom.. it should work

Run a Program in Compatibility Mode in Windows 8


As with other versions of Windows prior to Windows 8, you can run a program in compatibility mode in order to run older programs that were written for older versions of Windows in Windows 8. In Windows 8, there is also a new tool called the Compatibility Troubleshooter, which walks you through getting an older program to run properly in Windows 8. In this article, I’ll walk you through the compatibility mode options in Windows 8.
To get started, you need to right-click on the EXE file and choose Properties. If you have installed a program, it will either be located in C:\Program Files, C:\Program Files (x86) or inside the AppData folder. You can get to the AppData folder by opening the Run dialog and typing in %appdata%.
appdata
For example, I installed Google Talk on Windows 8 and was surprised to find that it was not located under Program Files. Instead it was inside the AppData folder which is located at
C:\Users\UserName\AppData\Roaming
By default, you cannot see this folder as it’s marked as a system folder. You can go into Folder and Search Options from Explorer and unhide it, but I find it simpler to just type it into the run dialog and open it. Once you find it, right-click and choose Properties.
properties
Then go ahead and click on the Compatibility tab as shown below.
compatibility windows 8
To run the program for a different version of Windows, check the Run this program in compatibility mode for box and choose from the list. Your options are everything from Windows 95 and 98 to Windows 7.
compatiblity mode
Under Settings, you can choose to run the program in reduced color mode, run in a 640×480 low resolution or to disable scaling. Under Privilege, you can also have the program run as administrator in case it’s having permissions issues. You can always use this technique to always run a program in administrator mode.
Lastly, you can click on the Change settings for all users button to have the compatibility mode settings applied to all users on the system instead of just the current user. If you don’t have any idea what to change or don’t feel like doing it manually, you can always click on the Run compatibility troubleshooter button.
It will detect any problems and then give you the option to Try recommended settings or Troubleshoot program.
troubleshoot program
If you click on Troubleshoot program, it will then ask you what problems you have noticed with the program while running it in Windows 8:
problems windows 8
Basically, the first option will let you choose a different version of Windows, the second option will change the display settings, and the third option will run the program as Administrator. If you select I don’t see my problem listed, it will as you which version of Windows it worked on before. If you click I don’t know here, then you’ll get a list of exact error messages.
display problems
Once you click on any of the problems, it’ll automatically choose a set of settings for the operating system, display and permissions to run the program and test it. Overall, running older programs on Windows 8 is very similar to Windows 7 and even easier to use. Enjoy!


How to Read and Open .DAT Files in Windows


So you just received an email with an attachment that someone sent you, but the extension on the file is .DAT. What exactly is a .DAT file and how to you open .DAT files? Those are two questions I’m going to try to answer as this is an issue that I’ve seen many times in my IT career!
The first thing to understand about .DAT files is that it indicates a file that has arbitrary data. That means it’s not associated with any one particular program or application. When you see a file with a .XLS extension, you know it’s referring to an Excel file, and so on. But with .DAT files, you have to figure out how to open it yourself and it may not be the same program each time.
file types
The best way to open a .DAT file is to use the program that created it. However, if you’re not sure, you can always try Notepad. Now when you open it in Notepad, you may be able to recognize some of the data, but the rest will most likely be junk spewed out by the program that created it.
You’ll normally only see this file format when receiving emails with attachments. Most common programs today do not generate .DAT files and only computer programmers use these files on any kind of regular basis.
So your first step would be to ask the person who sent you the email if they know which program was used to create the file. Now if they tell you that they actually sent a picture or a document and they are not sure why it’s a .DAT file, it could be that the file extension was changed in the process of having the email routed to you.
For some strange reason, some email programs automatically change the file extension on email attachments to .DAT. So if the person sent you a picture and now it’s a .DAT file, you first need to save it to your computer and then change the file extension to JPG or GIF or PNG or whatever you think it’s supposed to be. If they sent you a Word document, change it to .DOC, etc.
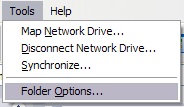
You can change the file extension on a file by first going to My Computer, clicking on Tools and then Folder Options.
tool folder options
Next click on the View tab and then scroll down to the option “Hide extensions for known file types” and UNCHECK it. In this way, we’ll now be able to see the file extension and change it to something else.
hide file extension
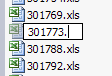
Now simply right-click on the .DAT file and change the file extension after the dot to the desired file format.
change file extension
You should also see the icon representing the file change to the appropriate program use to open that file type, i.e. Excel in the above picture.
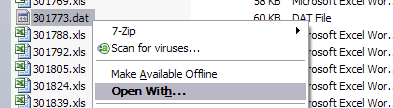
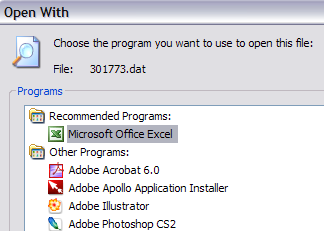
So what do you do if you’re not sure which program it came from or what the original file extension was supposed to be? You can also try right-clicking on the file and then choosing Open With and try different programs. For example, I changed one of my Excel files to a .DAT extension and then right-clicked on it to open it with Excel and it worked!
open .dat file
Now I just chose Microsoft Excel from the list and Excel was able to read the file since the data was written by Excel, it just had a wrong file extension.
open file
You can also try other programs like Windows Media Player since it will open it if it happens to be a video, MP3, or similar media format. So hopefully you are now able to open your mysterious .DAT file using one of the above mentioned methods! If not, post a comment and I will try to help! Enjoy!

Monday, 6 August 2012

Installing IIS 7 on Vista and Windows 7

 Install IIS 7

1. To open the Windows Features dialog box, click Start, and then click Control Panel.
 
Figure 2: Windows Vista Start menu
2. In the Control Panel, click Programs.
Figure 3: Control Panel Home
3. Click Turn Windows features on or off.
 
Figure 4: Control Panel install options
4. You may receive the Windows Security warning. Click Allow to continue. The Windows Features dialog box is displayed.
Figure 5: Windows Security dialog box
5. Expand Internet Information Services. Additional categories of IIS features are displayed. Select Internet Information Services to choose the default features for installation.
 
Figure 6: Windows Features dialog box - IIS
6. Expand the additional categories displayed, and select any additional features you want to install, such as Web Management Tools.
Figure 7: Windows Features dialog box - IIS feature selection
7. If you are installing IIS 7 for evaluation purposes, you may want to select additional features to install. Select the check boxes for all IIS features you want to install, and then click OK to start installation.
Figure 8: Windows Features dialog box - Installation selection
8. The progress indicator appears.
 
Figure 9: Progress indicator
9. When the installation completes, the Windows Features dialog box closes, and the Control Panel is displayed.
Figure 10: Control Panel Home page
10. IIS 7 is now installed with a default configuration on Windows Vista or Windows 7. To confirm that the installation succeeded, type the following URL into your browser, http://localhost.

Figure 11: Default Web site
11. Next, you can use Internet Information Services Manager to manage and configure IIS. To open IIS Manager, click Start, type inetmgr in the Search Programs and Files box, and then press ENTER.


Figure 12: Default Web Site Home page

Thursday, 2 August 2012

HOW TO CHANGE YOUR MAC HOSTNAME WITH THE COMMAND LINE AND MAKE IT PERMANENT:


scutil –-set HostName new_hostname


Simply replace new_hostname with whatever you want your hostname to be changed to, for example I want to change my Mac’s hostname to MacBookPro, I will use this command:


scutil –-set HostName MacBookPro


(Note the “–” before set is two dashes next to each other, –set)
You will be asked for your admin password since you’re using the sudo command. After the command is executed you can verify that the changes took place by typing:

hostname


You can also set a temporary hostname change by using the following command:


sudo hostname new_hostname


This will reset itself after your Mac reboots though, so if you want a permanent hostname change, use the above command instead. Thank you to commenter Jim for pointing this out!