Mac OS X 10.8 Mountain Lion Upgrade and Clean Install Guide
Upgrading to Mac OS X 10.8 Mountain Lion is for the most part a simple process. However, there are a few unobvious steps along the way that you may want to consider, whether upgrading or installing to the latest 10.8 version of Mac OS.

I recently upgraded my MacBook Pro to OS X 10.8 and have documented the process for any of our site visitors or subscribers who may be upgrading to Mountain Lion in the future.
Before you upgrade or install
- You must be running either Mac OS X 10.6 Snow Leopard or 10.7 Lion to directly upgrade to Mountain Lion.
- If you’re not currently running 10.6 or 10.7, you may clean install lion if your Mac computer will support it. For compatible Macs, see our article on Mountain Lion requirements.
- Make sure your computer is connected to power, if using a MacBook, Pro or Air.
- Perform a software update prior to installing Lion to assure that you have the latest software. Click the Apple logo in the upper left corner of the screen and select Software Update… from the context menu.
1. Purchase and download Mac OS X 10.8 Mountain Lion.
Launch the Mac AppStore on your computer by clicking the Apple logo and selecting App Store… from the context menu.With the Mac AppStore open and active on screen, find the Mac OS X Mountain Lion app in the AppStore by performing a search, although it may be featured on the home screen.
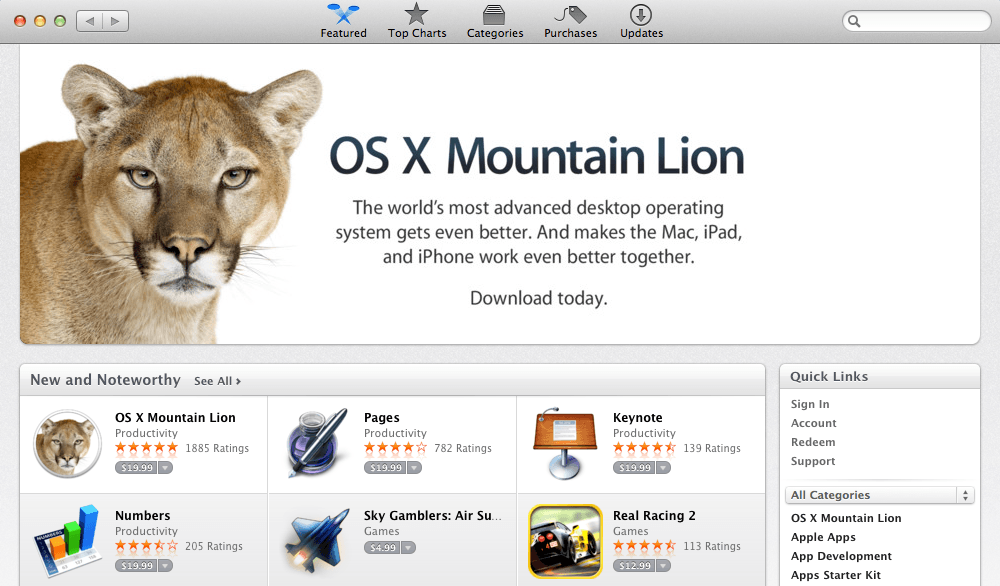
Click the price below the Mountain Lion App listing and it will change to Buy App. Click the Buy App button to purchase Mountain Lion.
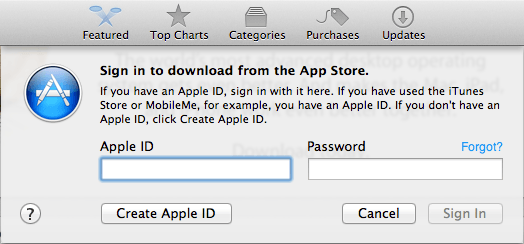
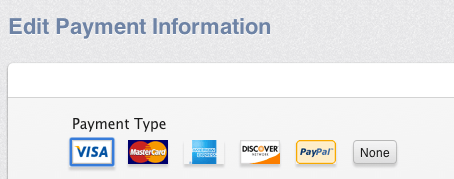
Next, Apple will prompt you to sign-in to your account, in which you may be required to verify your billing info. Proceed to sign in, verify your billing info, etc…
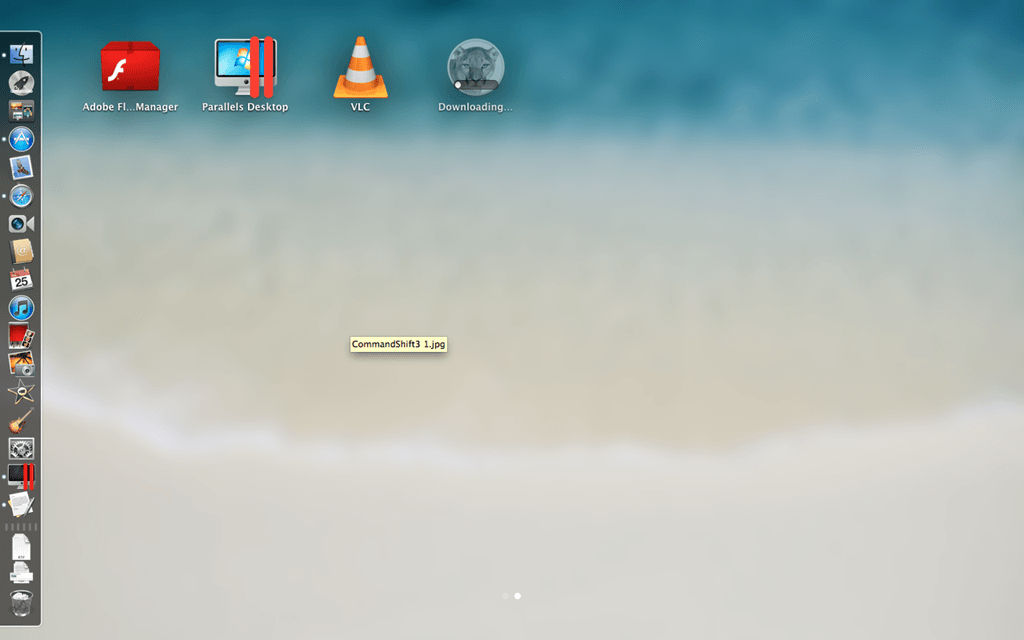
After that is complete and the purchase has been made, the operating system download will begin immediately. You can view the progress of the download at anytime by using the Launchpad app on your Mac.
The download will very likely not be quick, as the Mountain Lion installer is a 4.37GB file. I downloaded Mountain Lion the same day it was released, so Apple download servers were extremely busy and the download took a very long time. I started the download at 4:28 and it finished at 6:48, so it took 2 hours and 20 minutes to download, using a high-speed cable internet connection.
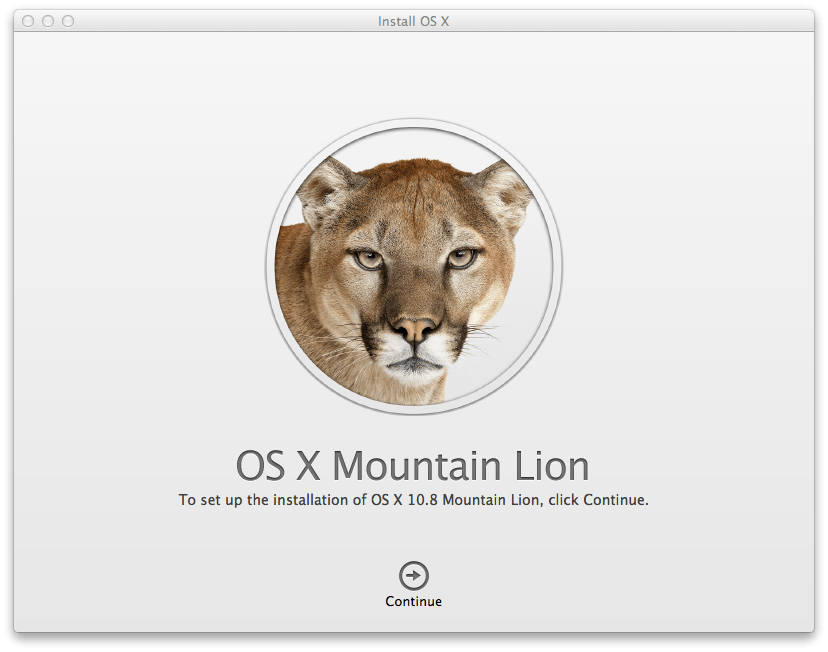
After the download completes, the Mac OS X Installer will automatically launch and prompt you to begin installing Mountain Lion.

However, don’t install the software yet. Let’s get the $20.00 USD software purchase that you just made backed up before we proceed with the installation (the installer deletes itself upon upgrade).
2. Backup, Create a bootable USB drive or Disc of Mountain Lion
With 10.8 successfully downloaded, navigate to the path Finder > Applications and locate the Mountain Lion installer. Right-click the installer app and select show package contents from the context menu.From here, Finder will open the actual directory of the app. Navigate the path Contents > SharedSupport and locate the file InstallESD.dmg
Next, open up disk utility in a new window, using Launchpad or by navigating the path Finder > Applications > Utilities > Disk Utility. Drag the InstallESD.dmg file into the left-side drives list within Disk Utility. You can now begin backing up Lion using a DVD or USB drive.
2a. To Burn a Backup/Recovery Disc –
Select the DMG file within Disk Utility by single clicking it. Click the Burn button to begin creating your Mountain Lion install DVD (dual-layer DVD or Blu-ray disc required). Once the burn has finished, eject the disc from your Mac and store it in a safe place. This disc can be used to reinstall Mountain Lion, should you need to in the future.
OR
2b. To create a bootable USB Drive –
- Insert the USB drive and select it in the sidebar in Disk Utility. Select the Partition tab, select 1 Partition from the dropdown menu and choose Mac OS Extended (Journaled) as the format type.
- Click the Options button and choose GUID Partition Table, this will make the drive bootable and formatted correctly for the Mac. Click Apply to format, which will completely erase the drive.
- Next, click the Restore tab and choose the DMG file as your source and the USB drive as the destination. Click the Apply button to backup the installer to bootable USB drive.
2c. To save the installer file and make it bootable at another time (quickest) -
Connect an external hard drive or high capacity USB drive to your Mac. Navigate the path Finder > Applications and locate the Mountain Lion installer app. It will be an app represented by a picture of a Mountain Lion. Drag the entire app to your external hard drive or USB drive to copy it. Eject the drive.
At this point, you have successfully downloaded Mountain Lion and backed up the installer file.
3. Upgrade or Clean Install Mac OS X 10.8 Mountain Lion
Finally, it’s time to actually begin install of the new operating system!3a. Upgrade Install from Snow Leopard or Lion -
Launch the Mountain Lion app that you downloaded from the AppStore by navigating the path Finder > Applications. Once the app launches, you will be prompted with the upgrade steps:
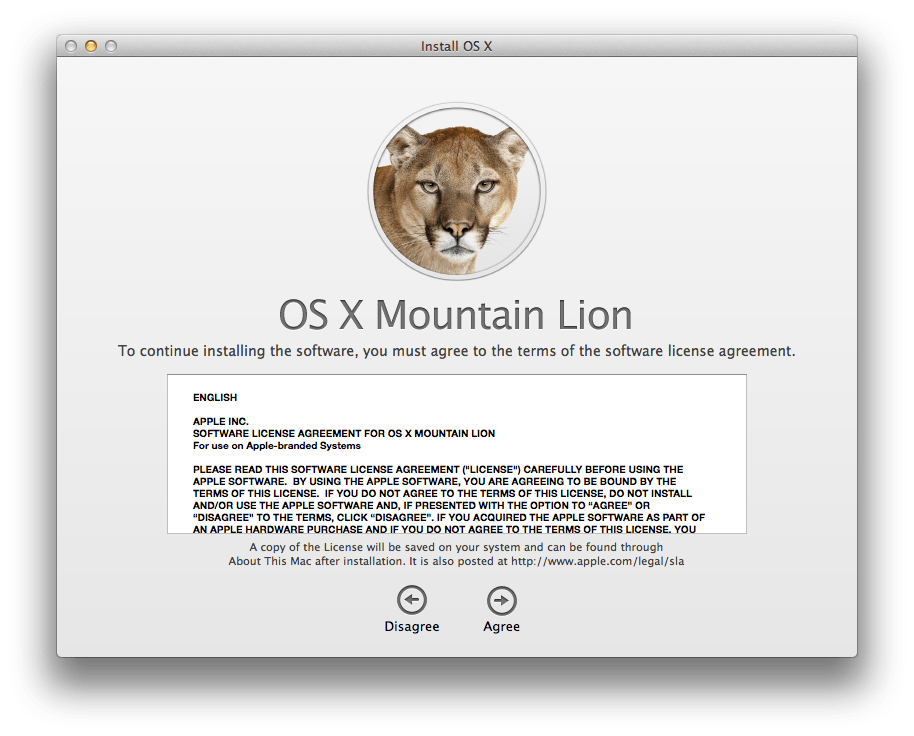
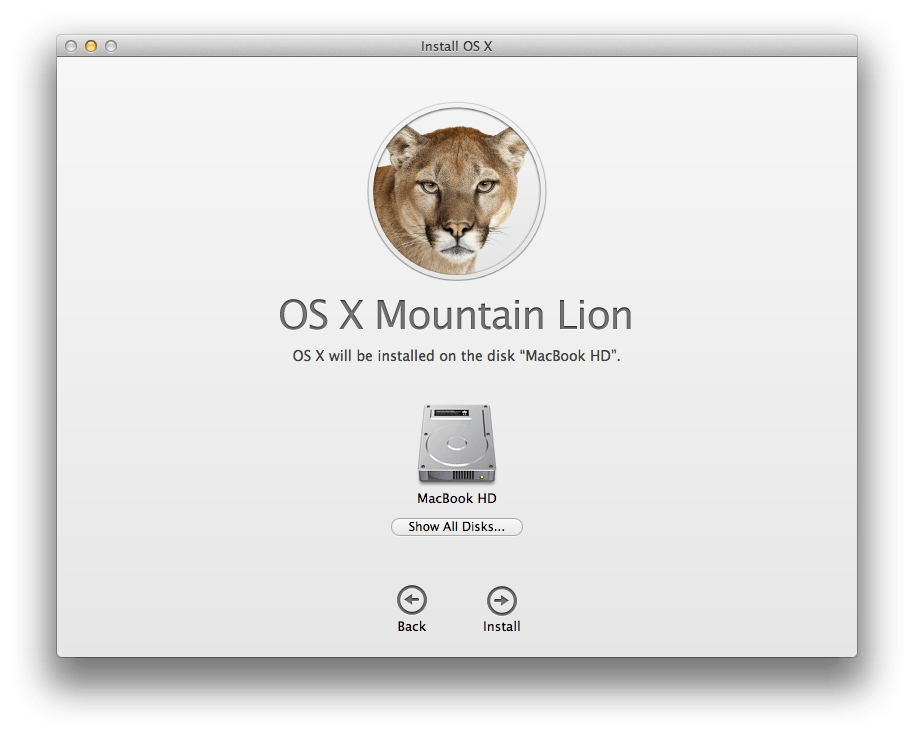

Follow the on-screen prompts to upgrade to Mountain Lion. Your computer will reboot and the upgrade process will begin.
The estimated upgrade install time for Mountain Lion is 34 minutes, although it may go quicker or slower depending on your hard drive speed. For example, I have a SSD installed on my MacBook, so it took closer to 15 minutes.
Once the installation is complete, your computer will restart one more time and boot back up. Once you sign in, you will be using 10.8 Mountain Lion; because this method is an upgrade, all of your existing apps and documents will be on your Mac computer.
OR
3b. Clean Install Mountain Lion -
If you’re not currently running Snow Leopard or Lion as an operating system, but have a Mac that is capable of running Mountain Lion, you will want to perform a clean install. The process is as follows:
- Close out of any apps or other open documents and save your work.
- Connect a bootable USB drive or DVD Disc containing the Mountain Lion installer to your Mac computer. We described how to create both above (2a, 2b).
- Restart your computer. Once it begins to boot back up, hold down the option key on the keyboard to choose a boot device.
- Select either the USB drive or Disc as the boot source.
- Click the Continue button on the first initial Welcome… screen.
- (optional) Hover your mouse over the top of the screen and navigate the path Utilities > Disk Utility.
- (optional) Use Disk Utility to erase any existing Mac OS X installations if you so choose. This will completely wipe your hard drive of all data! Format to OS X Extended (journaled) and exit Disk Utility.
- Complete the on-screen prompts to finish clean installing Mountain Lion.
No comments:
Post a Comment